Repairing an underground dog fence
Repairing an Underground Dog Fence
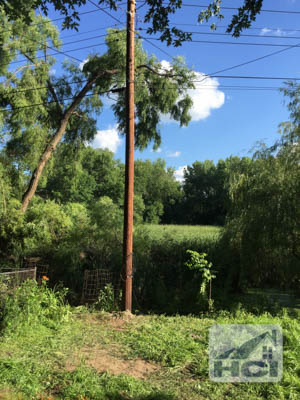 Of all the home improvement projects tackled in the past 5 years the most useful one has been the underground dog fence. It’s a low voltage loop of wire that runs the complete perimeter of the yard. We can just open the sliding glass door on the deck and the dog can run hot laps around the yard. He loves it, we love not having to untangle a chain or cable every time we let him out. I cut a channel with the grinder where the asphalt driveway meets the concrete curb cut so that the underground fence was continuous across the driveway as well. Recently a big storm toppled some trees and cracked the power pole out behind our house. The power company came an replaced it yesterday but in the process broke the wire to the dog fence with their tracked utility crane.
Locating the Break
The hardest part of repairing an underground dog fence is locating the break. Obviously you start in the areas where work has been done. Any digging, overweight vehicle traffic, or rodent activity. Thankfully I was home when the utility crew broke the line so we had a good idea where to start looking but also they used their locating equipment to assist in locating the break. The last break we had was caused by a gopher and it was located by walking around the yard until I found the place where the wire was sticking out of the ground.
Expose the Wire
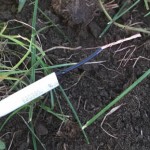
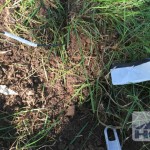
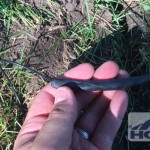
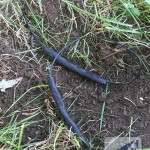
Once the break has been located remove enough dirt around the area to be able to work comfortably. For me that was around 6 inches of wire out of the ground on each side. Also strip the ends of the wire at this time. A 1/2″ of wire is fine but I stripped about an inch so that it showed up better in the photos. Now is a good time to get a length of wire to span the gap between the split. I like to have enough wire to make a 2″ diameter loop to bury in the ground between the splices. This gives enough slack for any future movement near the area; lets the wire give a little instead of breaking.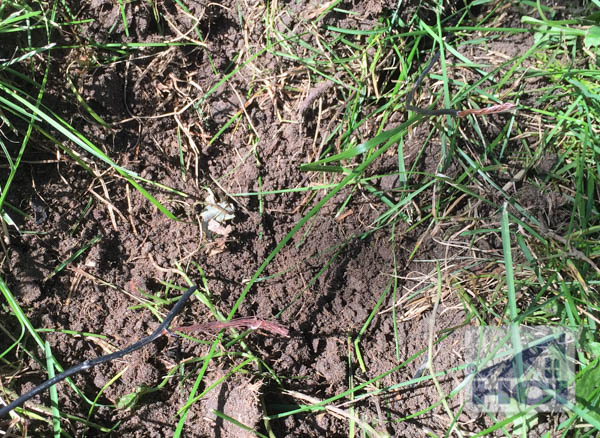
Prep the Wire for Soldering
There are a couple ways to repair an underground dog fence. Some manufacturers supply a couple silicone filled wire nuts. They tell you to mark any splices on a map so that the next time it breaks to check those spots first. My kit didn’t have any of those and I wanted a more reliable connection so I always use the solder method for repairing an underground dog fence. Direct burial splice connectors will also work just fine but cost more than a couple inches of solder and some heat shrink tubing.
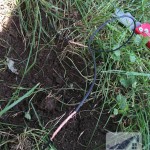
Now that all the wires are stripped, slip on the heat shrink tubing and slide it up the wires a little way so that it doesn’t start shrinking as heat is applied to the wires.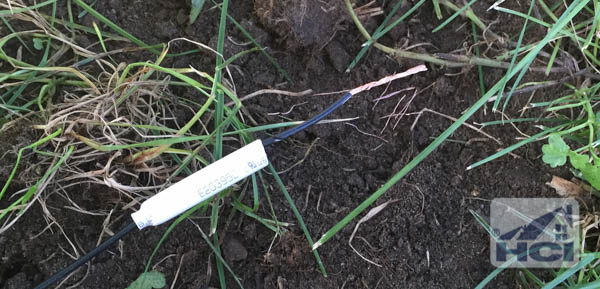
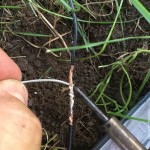
Weave and twist the wires together so that they are inline with each other. Now apply heat to the wires with the soldering iron. It’s helpful to have something to set the iron on so that both hands are free. I used a metal handled wrench. When the wires are hot enough the solder will start flowing into the braid. I touch the solder to the point where the iron and wires meet. It should readily flow when there’s enough heat. All of the exposed wire doesn’t need solder in it but it should go all the way around and fill most of the exposed braid.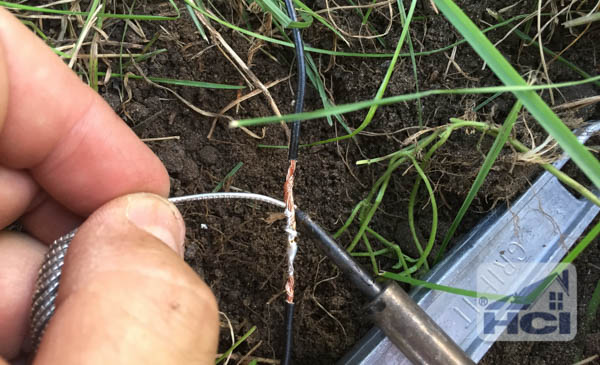
Seal Up the Splices
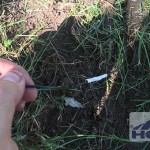
Slide the heat shrink over the splices and run the edge of the iron up and down the heat shrink. It shrinks equally on all sides so you have to heat it on all sides. When it’s all shrunk you should be good to go to the next step. I added a couple pieces of butyl tape that the utility company left me. The heat shrink is good enough but I wanted a belt and suspenders type of fix. The butyl was easily moldable and stuck to itself very well.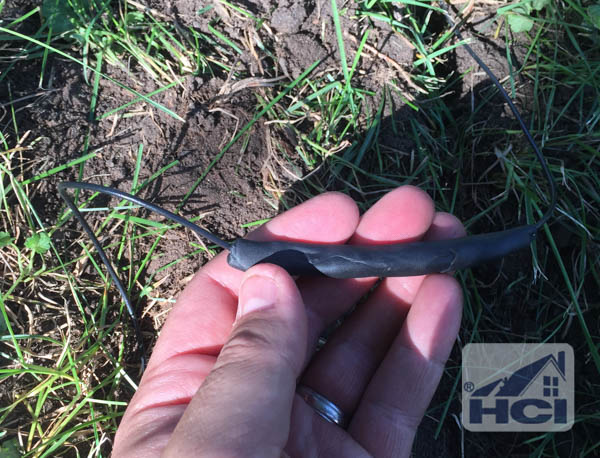
Test and Bury
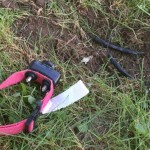
The final step is to test the repair. Plug everything back in and bring Fido’s collar near the wire but be sure not to touch the contacts while your doing it. If all goes well then go ahead and bury the newly repaired area. Lay the loop of wire flat so that you don’t accidentally snag it with the lawnmower. Water the area to help the grass grow back and in no time the repair area will blend in with the rest of the lawn.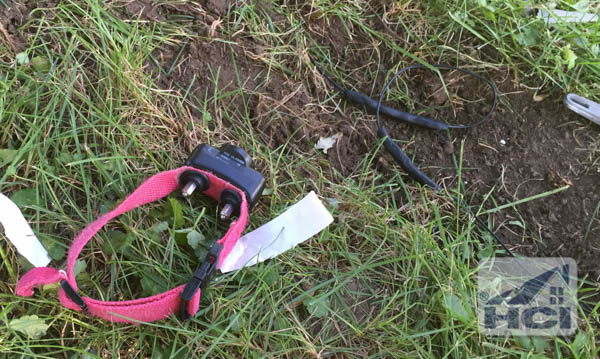
- Weave and twist the ends together
- Shrink up the tube
- Milo loves to run around the yard








Leave a comment