How To Install A Dimmer Switch
Installing A Dimmer Switch
 A fairly easy home improvement project is installing dimmer switches. Dimmer switches can help create better visual settings in a room depending on the activity the room is being used for. In addition, using dimmer switches can actually help reduce your electric bill when the light is being dimmed. As with any electrical project please make sure you follow local building codes and read the manufactures instructions thoroughly.
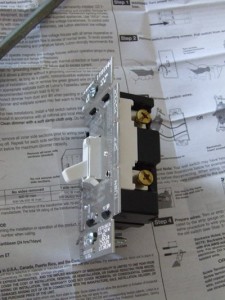
There are a number of dimmer switch styles on the market. You can buy the old fashioned round dial kind, you can buy slider switches or you can now buy these toggle switches with a slide on the side. I really like these switches because they match all the remaining toggle switches in our house.
It is important that you choose your dimmer switch carefully to meet the needs of your specific project. I’m installing this dimmer switch on an existing single pole switch that operates four 100 watt recessed halogen lights. Therefore I chose a dimmer switch rated for 120 V 600 watt incandescent or halogen lights. If you’re not sure which switch you need it’s best to get assistance from the sales person or an electrician.
Installation Steps
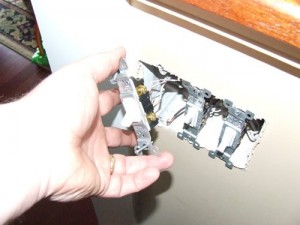
 The first step in any electrical project is to shut the power off to the circuit at the breaker box. Next you should test the circuit to make sure it’s not energized. Once I was sure that the power was off to the circuit I carefully removed the switch plate cover. Once the cover is off remove the old switch and carefully remove the ground wire (typically bare copper) and the two black hot wires. It’s not important to remember which wire was on top or bottom for this single pole switch.
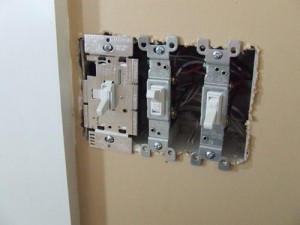
 Once you’ve removed the old switch it’s very simple to reverse the same steps to install the new dimmer switch. Simply re-install the ground wire to the green screw post and then attach the two black hot leads to the remaining two posts on the right side of the switch. Next screw the switch back to the box and align it with the other switches.
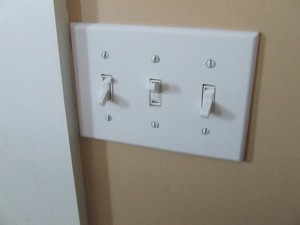
Finally re-install the switch cover plate and turn on the power at the breaker panel. If you’ve followed these instructions correctly you should be able to turn on the lights to test them.
 It’s worth noting that dimmer switches will feel warm to the touch when the light is on. This is normal and nothing to worry about. This project only cost me about $15 and it will make watching TV in the living room much more enjoyable at night without the glare.


Leave a comment