How to Build a Pipe Clamp Rack
Cut and Glue in the Dowels
Using the drill press allowed me to get consistent depths on the drilled holes. I set up a stop block on the miter saw at 8-1/2″ from the blade and started chopping up the dowels. One thing to note, when cutting small diameter, short items against a stop block on a miter saw, it is important to keep the blade down after the cut until it comes to a complete stop. This will keep the saw from flinging the small parts all over your shop or worse, at you.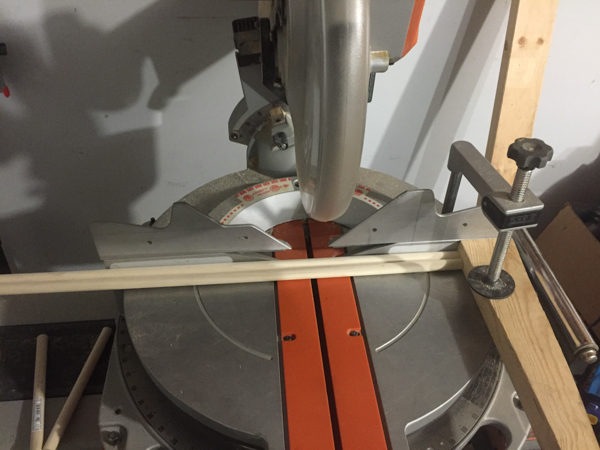
Put a little bit of wood glue in the holes and gently tap in the dowels with a mallet or block of wood and a hammer. The glue acts as a lubricant to help the dowels slide in and to secure them in case your 2×4 shrinks a little with seasonal movement. Your pipe clamp rack is now ready for mounting.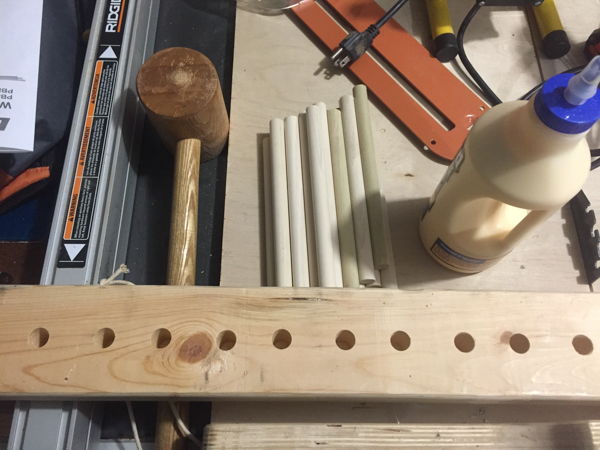
Mount the Completed Pipe Clamp Rack
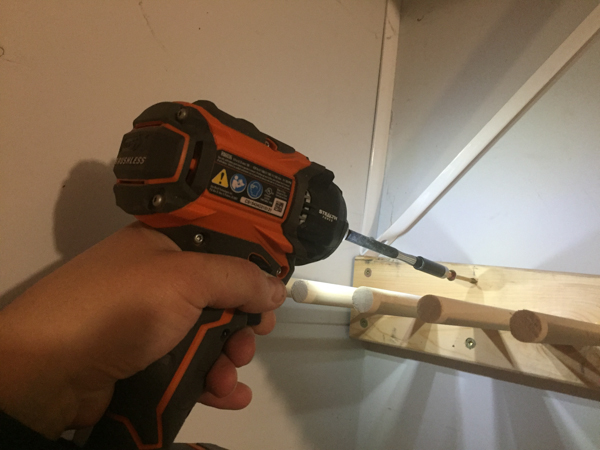
Before you even hold the pipe clamp rack up to the wall, pre-screw the locations which you know have studs. In my case the inside and outside corners of the space I’m mounting has studs because that’s what the drywall is screwed to. Hold the rack up to the wall and drive one screw in. This should be sufficient to hold the racks weight. Now grab your level in one hand, drill/driver in the other and move the rack until it’s level and drive in another screw.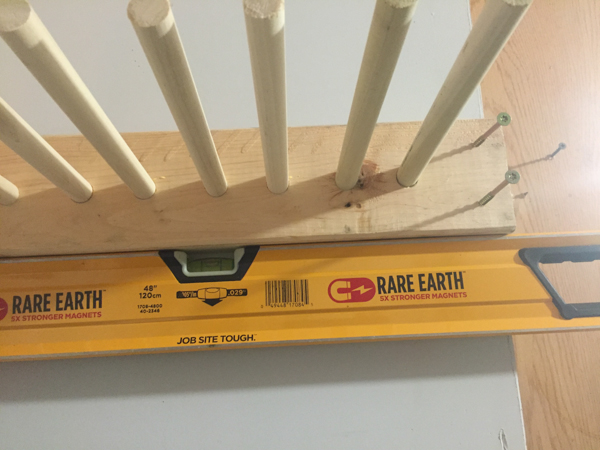
After the rack is held in place with screws in the known stud locations, locate the rest of the studs that may fall beneath the rack and drive 2 screws per stud. This will give you plenty of holding power for all your clamps.
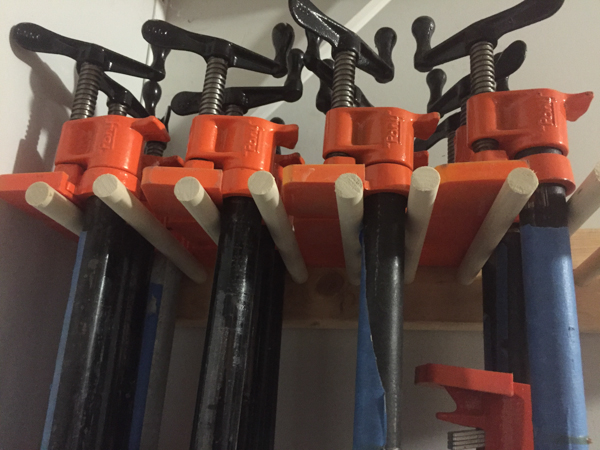
 If you build your rack to similar length 2×4 and dowels as mine, you can get 24 pipe clamps on this rack, that’s a pretty dense setup. Now get out into the shop and build one yourself!








I was looking for a simple pipe clamp rack and this is just the ticket, thank you.