Dremel Tool Pumpkin Carving
Carving Patterns On Pumpkins with Dremel Tools
 Today is Halloween and I thought it would be fun to share some photos of our pumpkin carving fun from last night. And seeing that I’m such a huge Tool Geek what better way to carve pumpkins then using a power tool. Last year we used some power tools for pumpkin carving but this year I wanted to try some of the really cool glowing patterns that have become so popular.
My son is an absolute nut when it comes to all things Scooby-Doo so I decided to surprise him with a Scooby-Doo pumpkin this year. As you can see it turned out pretty cool and it’s really easy to do using a pattern and a Dremel Tool.
Patterns
What makes these type of really cool pumpkins possible are the endless patterns available online. Doing a quick Google search for any type of “Pumpkin Carving Pattern” will quickly reveal an unlimited source of patterns.
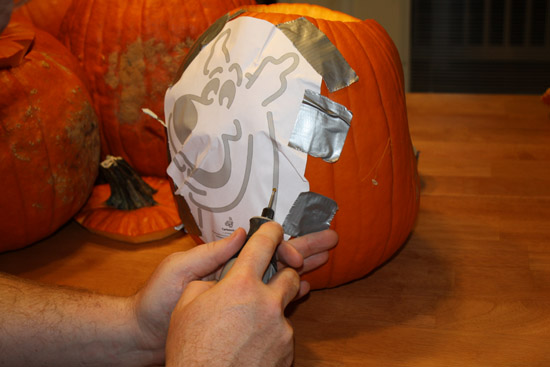
Once you’ve printed out a pattern all you need to do is tape it to the pumpkin. I highly recommend using a tape like Duct Tape because other household tapes like scotch tape just won’t stick to the smooth damp surface well. Don’t worry about wrinkles in the template as it’s really just a basic guide.
Trace The Pattern
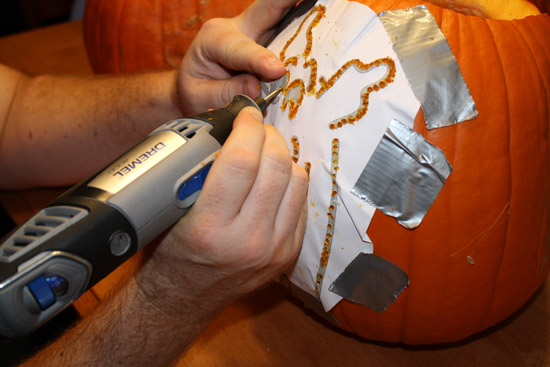
Once the pattern is taped on you can start slowly tracing the pattern onto the pumpkin using the Dremel Tool. I used a 107 Engraving Cutter to create small “dots” through the paper into the flesh of the pumpkin.
Keep working on the entire pattern until the complete image is transferred to the pumpkin. Be sure to transfer enough of the pattern that you can see it after the paper is removed.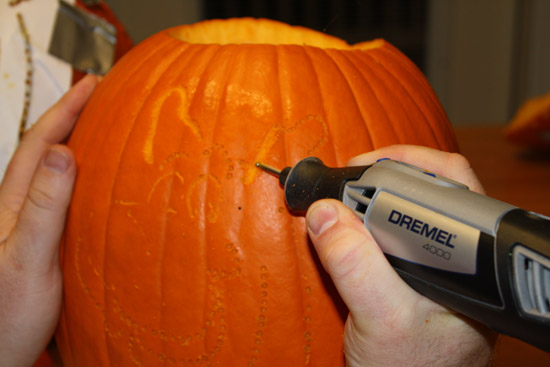
Finish Carving The Details
After tracing the pattern you can remove the paper and focus on carving a smooth image into the pumpkin. I used a combination of the 107 carving cutter and a Dremel 561 Multipurpose Cutting Bit. The key is to take your time and move slowly so you can control the tip. I highly recommend you wear some eye protection and keep the kids at a safe distance. A Dremel tool is far too dangerous for small children to use.
Once the pattern is finished I also recommend scraping the inside of the pumpkin as thin as possible. That makes the candle light shine through the pattern better. Below is our 2010 collection of pumpkins, two of which were carved using a Dremel Tool. If you don’t own a Dremel Tool you can actually buy a Dremel Pumpkin Kit for $15!






That looks really good! I love using power tools for pumpkin carving. Spade bits make for nice, clean holes- good for eyes.
Never would have thought of using a Dremel to carve a pumpkin, but why not? If my daughter sees these pictures I’ll be out buying another pumpkin today
Steve – Trust me…..I’m doomed now! The kids got a real kick out of the themed pumpkins this year.
I noticed several people had done the same thing to their pumpkins last night as I was out and they all said Dremel. I’m going to have to remember that for next year