Build A Shed Series Part 2| Preparing the Site


Build A Shed Series Part 2| Preparing the Site
In part 1 of the Build a Shed series we covered finding out what rules and codes apply in your community, finding a good plan, and getting a permit. In part 2 we’ll cover utility locating, materials ordering, and finally site preparation.


One Call Service
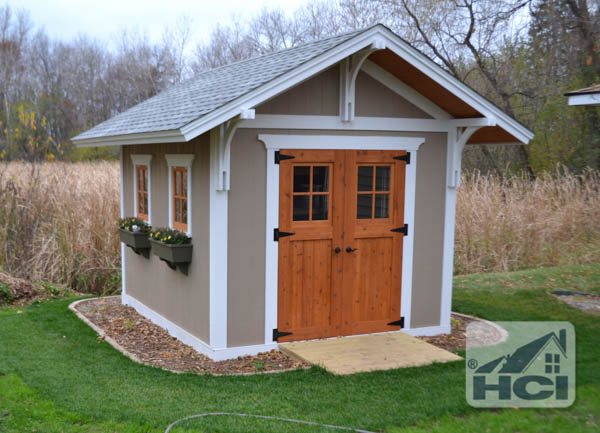
If you recall from Part 1 I wanted to build the shed in a back corner of my lot. This area was then occupied by a lilac bush that must have been planted in the Jurassic era. It was old, gnarly, and huge and it’s roots ran deep. Once the permit is in hand if the site requires any sort of clearing and grubbing of plants with roots, The One Call utility locating service should be your first step.
One Call or 811 is a federally-mandated national Call Before You Dig number, 811 was created to help protect you from unintentionally hitting underground utility lines while working on digging projects.
Basically you make one phone call and all of the utilities that service your part of town come to your property (within 48-72 hours) and mark the location of your utilities and whether or not it is ok to dig in the area you have marked out for them. Not only is it the law but it will help keep you safe. The lilac bush in my yard ran deep but also because my lot was sloped I was going to have to excavate as well and wanted to be safe.
811 is the number to call in the US. The entity that picks up the phone is state specific but the number is the same everywhere. The following link has more state specific information as well as some of the phone numbers to call if you live up in the Great White North, Canada.
Order materials
While waiting for the utilities to be located I took the opportunity to order up all the materials. Like I mentioned in Build a Shed Part 1, the Family Handyman had a great plan but what made it even easier was that they included a full material list. I took this list to my local lumberyard and they keyed into the computer the whole lot in a matter of minutes including the roofing and the hardware. If you don’t have a local lumberyard then the building supply counter or pro desk at your local big box store has the same capability.
When looking at the materials list, I followed it pretty closely but with some minor deviations. I skipped the sheet of OSB for the gussets, I had extra 1/2″ and 3/4″ plywood laying around and that was enough for the gussets. I also specified #2 grade or better pine for the window frame materials, left off the Stanley adjusters, and added window locks . Additionally I chose cedar for all of the door parts. The flower boxes deviated from both the materials and the plans. But through the use of scraps from other parts of the shed and 2 cedar 8′ 1x2s all the rest of the materials were in the list.
Page: 1 2
Recent Posts
Framing Stick Nailer vs Coil Nailer
Which is Better a Stick Nailer or Coil Nailer? Framers have many choices in nailers…
How Many Roofing Nails Per Square of Shingles
Estimating How Many Nails for a New Roof When it comes to estimating materials for…
Composite / PVC Decking – Layout Tips & Advice
Composite / PVC Decking Layout Tips and Advice Composite and PVC decking have really changed…
Benefits of an ERV System (Energy Recovery Ventilator)
Benefits of ERV Systems (Energy Recovery Ventilator) If you're building a new home or doing…
Vermiculite Attic Insulation Abatement
Vermiculite Attic Insulation If your home was built before 1990 there is a chance it…
Nuisance Tripping of AFCI (Arc Fault) Circuit Breakers
Arc Fault (AFCI) Circuit Breakers Tripping Often An arc-fault circuit interrupter (AFCI) or arc-fault detection…
View Comments
Build A Shed Series Part 3| Part 3 shows how to grade the site and build a shed foundation. Where can I find part 3