Build A Shed Series Part 2| Preparing the Site
Delivery of materials
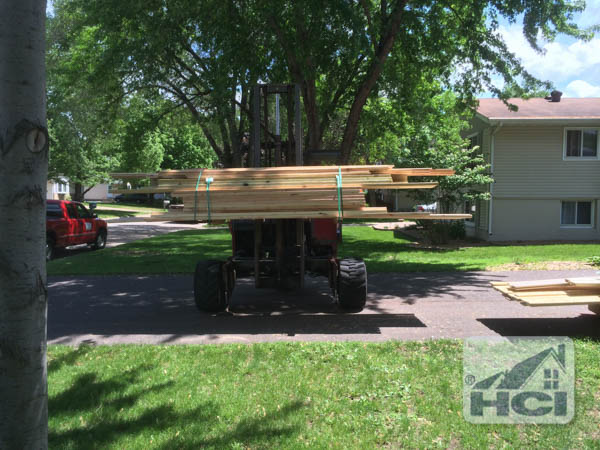
When I ordered the materials I opted for delivery. With a project of this size delivery almost always makes sense. One, it saves you mountains of time wandering the lumberyard loading all the materials into your truck or trailer and two you don’t need a truck or trailer capable of hauling 16′ boards.
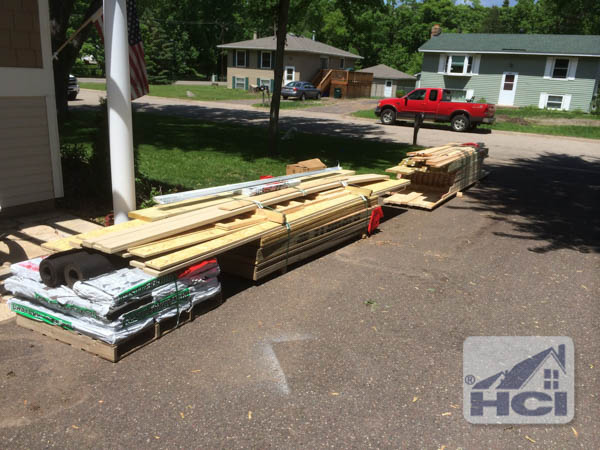
It only took a day and a half for the order to show up at my house. The biggest benefit of delivery is if the truck comes with a donkey on board you can tell them where to drop the materials. Unfortunately I had to have the driver drop them on the driveway instead of the back patio because a 16′ wide bundle wouldn’t fit between the house and the trees. Hopefully your site isn’t as constrictive as mine was.
Clear and grub the site


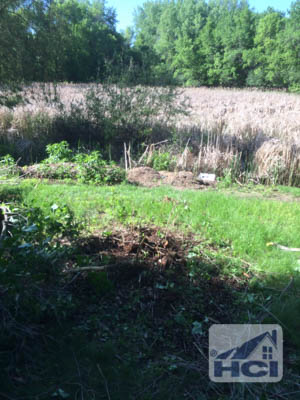
The upper portions of the bush were easily removed by attaching a tow strap to the pickup and the other end around a clump on branches near the ground. As you can see in this short iPhone-captured clip, only partial roots were removed by pulling. This is illustrated in the image to the right. If my lot was level, lopping off the plant at ground level would be enough. With a sloped site though, excavation was necessary on one end to get the shed to sit right.
In order to remove the root ball and level the site I had to use the skid loader. The best way to do this is to mount a set of pallet forks and then push the forks together so that there is about an 8 inch gap. Angle the forks at a slight downward angle and slowly drive forward, pushing them through the root zone. When the forks have cleared the root ball, rotate the forks back upward and lift them out of the dirt. Keep doing this from multiple angles and depths until the root ball is completely removed. Unfortunately the images of this process were blurry (it’s hard to drive a loader and take pictures) but the “after” image shows both the positioning of the forks and the size of the root ball removed (right side of image). As a side note, construction equipment is fascinating for kids, just make sure it is shut off before you show it to them. Now that the site is clear, Part 3 shows how to grade the site and build a shed foundation.
Page: 1 2
Recent Posts
How To Build Floating Bar Shelves
Floating Walnut Bar Shelves Floating shelves are extremely popular and it's not a surprise due…
Custom Curved Deck with Cable Railings and Stone Grill
Custom Deck Project Building a regular deck is something we do a lot of but…
Stick Framed – Prefabricated – Modular – Which Is Best?
New Home Construction Options: Stick Framed, Prefabricated & Modular So you're considering building a new…
Why Use Pre-cut Studs for Framing Walls
Using Pre-Cut Studs To Frame Walls For those that do not frame houses on a…
How To Replace Taco 0014-F1 Circulator Pump Cartridge
Replacing Taco 0014-F1 Cartridge I like to try and fix things myself when they are…
PVC Flue Gas Venting Pipe
System 1738 - Engineered PVC Flue Gas Pipe Years ago we started installing gas boilers…


View Comments
Build A Shed Series Part 3| Part 3 shows how to grade the site and build a shed foundation. Where can I find part 3