How To Install Tile On Kitchen Backsplashes
How To Install Tile On A Kitchen Backsplash
We are continuing on with our series on tiling a kitchen backsplash with an article on how to install the tiles. We’ve already covered:
In this article we’ll focus on the actual installation of the tiles. Installation of backsplash tiles involves each of the previous steps from selecting the tile you want to creating a design or layout and then finally selecting a bonding material. Our project includes an existing granite backsplash (5 inches tall) that will remain along with the addition of tumbled marble tiles and a row of decorative accent tiles.
Prepartion
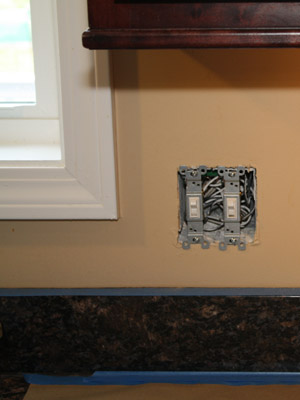 I’m sure I’ve said it a million times on this site but preparation is the most important step of any DIY project. Being prepared makes the project more successful, quicker and less likely to cause expensive damage to your home. For this project we did the following to get prepared:
- Tape Sensitive Surface – Used painters tape to cover important features throughout the kitchen including; top of granite backsplash, cabinetry adjacent to the backsplash, appliances, window trim and faucets. Taking the time to tape things off is essential because of the wet mess you’ll create during the entire process. Additionally, the mastic and grout are very abrasive and likely to scratch sensitive surfaces like appliances and cabinets.
- Cover Up Counter Tops – It’s really important to cover up your counter tops if you want them to still look nice when the project is over. We rolled out brown paper and taped the edges with painters tape (painters tape is very forgiving on appliances and counter tops).
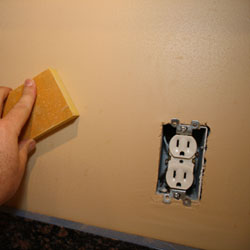 Shut Off Power – Shut off power to kitchen outlet and light circuits. Remove electrical outlet and switch cover plates. You’ll be working closely to electrical outlets and switches with wet materials like mastic and grout. In order to protect yourself from possible shock this step is very important.
- Sand the Wall Surface – This step is appropriate if you’re installing tile over a painted drywall surface. Be sure to sand the surface to improve the bonding strength between the mastic and drywall. 120 grit sand paper does the trick nicely.
- Protect Flooring – Before starting a project like this I prefer using some drop cloths on the floor. Painters drop cloths are perfect for this type of job providing that extra insurance against scratches, dents and stains.
 Gather Tools
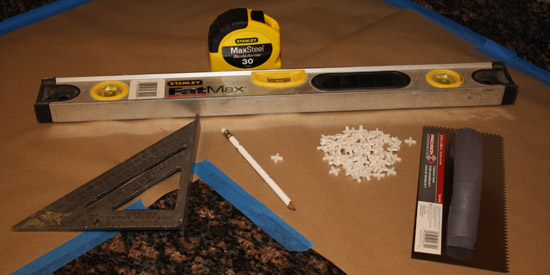
The old saying about having the right tool for the job still holds true. Before you start installing a tile backsplash be sure you’ve got all the tools necessary to complete it properly. Tools that I used for this job include:
- Tape Measure
- Level
- Square
- Sandpaper or Sanding Block
- 1/8 inch or 3/16 inch V-Notch Trowel
- Tile spacers
- Tile Saw (we’ll be reviewing our tile saw, Ryobi WS750L Wet Saw, in a future article)
- File (not necessary but very useful)
Setting Tiles
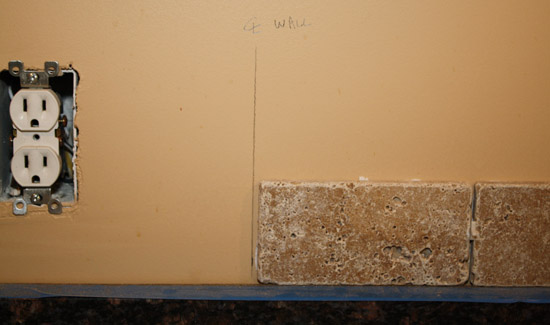
Now that you’ve selected tiles, designed a layout and prepared for the project it’s time to set some tiles. Remember to use your design! You’ll want to start from your focal points. For this project the focal points were the center of one wall and the center of a window on the other wall.
Using a pencil and level I marked the center lines of those two focal points before starting. As you can see above our design has a full tile on either side of the center line.
Applying Mastic
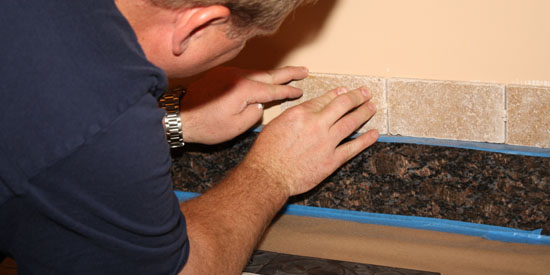
There are two ways to apply the mastic or thinset when setting tiles. You can either spread it on the wall (or floor) surface and then set the tiles in it or you can apply the thinset or mastic to the back of the tile first. When applying it to the back of the tile it’s called “back buttering” the tile. For this project I chose to back butter the tiles vs applying the mastic to the wall.
I chose to back butter the tiles because it allowed me more time and flexibility. If you apply the mastic to the wall the tiles must be installed within a certain time period (depends on the brand but 20 to 30 minutes max). By back buttering the tiles I was able to take my time cutting tiles, laying them out and working around obstacles like outlets, cabinetry and windows.
The following is a very short video showing how I back buttered the tiles and installed them on the wall.
 Using Tile Spacers
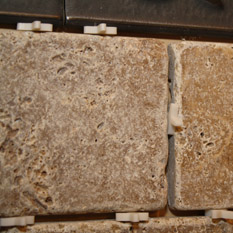
For this project we used 1/8 inch tile spacers. Tile spacers help keep all the grout lines an even width for a more professional look. Now some of the really seasoned tile setters can do it without but I do not recommend it. You can buy all different width tile spacers depending on the look you want and the type of grout you’ll be using. Thin grout lines (1/16 or 1/8 inch) can use un-sanded grout while wider grout lines of 3/16 up to 1/2 inch use a sanded grout.
Cutting Tiles
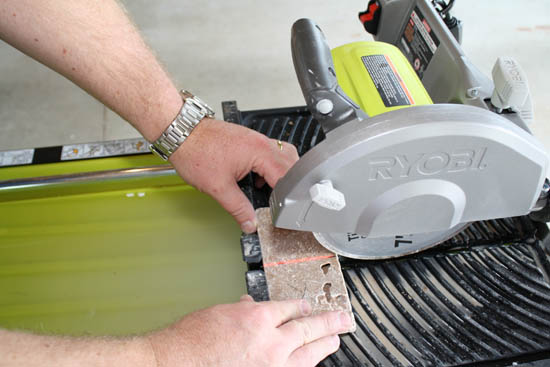
If you’re going to tile a backsplash you’ll need to be able to cut some of the tiles to fit around electrical outlets and cabinetry. For this project we used a Ryobi WS750L Wet Saw. You can either buy your own wet saw or rent one from a local rental center. Wet saws use a diamond coated blade and water to cut through all types of tile.
Once you get the hang of a wet saw you can cut most any shape out of tiles. In the photo above you can see how I marked the tile for the electrical outlet cutout. In the second photo you see the tile installed after cutting. It’s really important to test your tiles after cutting them before applying mastic. It’s better to see if it fits properly before covering it with mastic.
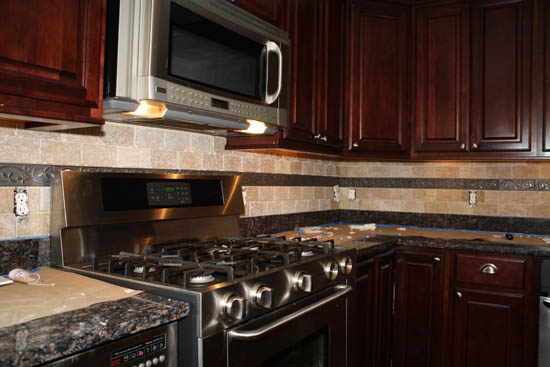
Now all you do is continue installing tiles, accent pieces and cutting around obstructions. Remember to take your time and put the design together like a puzzle. I find it’s much easier to install as many full pieces of tile as possible and then return to install cut pieces. I also prefer to work an entire row from one end to the other before starting a second row. The accent tiles get installed in the same way. For out design we opted out of a joint between adjacent accent tiles.
Next Step – Grouting
The next step will be grouting the backsplash tiles. In our next article we’ll cover how to grout the tiles and wrap up the installation. If you’d like to see the final pictures of our new backsplash along with a summary of all the backsplash articles then visit our complete guide on how to install a kitchen backsplash.










Leave a comment