How to Hang a Large Picture: French Cleat
 How to Hang a Large Picture: French Cleat
Having a photographer for a wife lends itself to having many beautiful pictures of our family hanging on the walls. As a builder though it pains me every time I put additional holes in the drywall. I remember skim coating those very walls to get them smooth and putting holes in them again just doesn’t feel right. Hanging larger pictures and signs often calls for proportionately large hangers. Larger and fancier hangers are not always the answer though. In this article we used a French Cleat to hang two large, heavy items. Read on to see how to use this hanging system in your own home.
What is a French Cleat
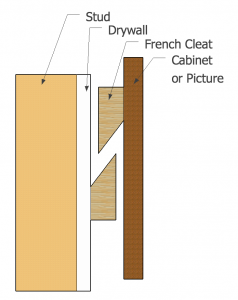
A french cleat is a system traditionally used to hang cabinets and consists of a flat piece of wood or metal cut anywhere from 30-45 degrees mounted to a wall. The matching piece is mounted to the back of the cabinet. The two pieces interlock and the weight of the piece pulls the cleat halves together. The cleats are open on the ends so that minor corrections can be made left to right but the piece always stays level.
When to use a French Cleat
French Cleats do their best work on big, wide, and heavy objects. Even if it meets only one of those criteria a french cleat may be useful. For example, a bathroom mirror would be a good use. A vintage sign would also be a good use. As mentioned before, a cabinet would also be a good use. Todd’s closet organization system is hung on french cleats as well. IKEA also uses it for their cabinets.
How to use a French Cleat

Use the edge of the level to mount the cleat a uniform distance down from the top of the piece.
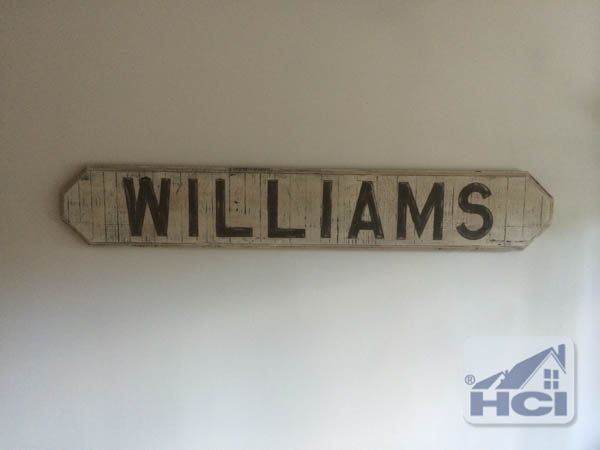
A friend of my wife took an old piece of barn wood, routed an edge on it, and painted it up to look like an old railroad sign with our name on it. I at first thought about using two fasteners to hang it or even a long wire but at around 5′ in length a French Cleat is an easier and faster solution. For this monster I use a metal cleat from The Home Depot but Walmart, Menards, Lowes, and Amazon sells them too. I used a 200lb rated unit but it was more for the width than the weight. It is 18″ of extruded aluminum.
After opening the bag and separating the fasteners I centered the upper half of the cleat left to right on the sign and 1″ down from the top and screwed it in place. The key part of this isn’t the centering but that it is an even distance down from the top of the item being hung.
Then I went indoors with a level and drill driver. The metal extrusions come with an embedded level bubble but I always check against a known good level. My wife provided the commentary on how high to place the lower half of the cleat and I mounted one fastener near the center. Using the level I double checked the cleat and screwed in the rest of the fasteners. The fasteners have special threads that hold particularly well in drywall. Then we just placed the sign above the cleat and gently lowered it down the wall until the cleat halves locked in. Done.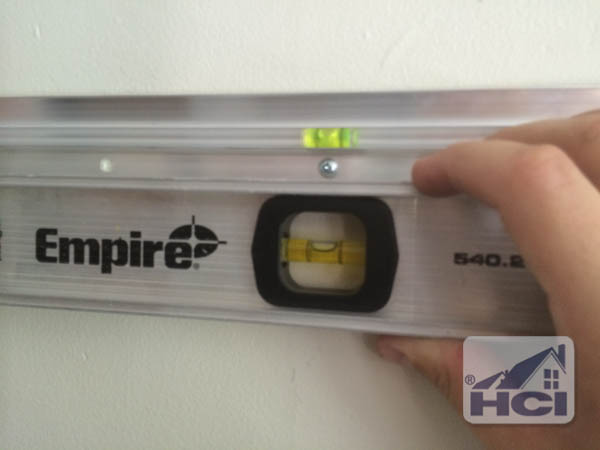
How to make a French Cleat
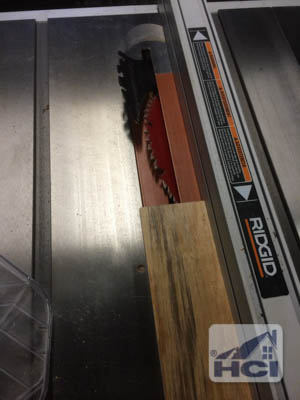 While the extruded aluminum cleat is nice and not too much money, one can be made out of scrap plywood for almost nothing. I made this cleat out of 1/2″ plywood roughly 18-20″ in length and around 3.5-4″ wide. Those sizes aren’t critical. Your cleat can be 24″ or larger depending on what is being hung and the width of the board is determined by how much space you have to mount the upper cleat. For 1/2″ plywood I don’t think I would go with the width any narrower than 2.5-3″. If your item is particularly heavy it wouldn’t hurt to make the cleat long enough that it could be mounted to a couple studs.
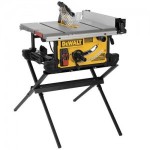
Set your table saw somewhere between 30-45 degrees and rip the board right down the middle. Remember when cutting small boards like this to use a push stick or two to keep your fingers away from the blade and use the guards on the table saw. The image to the right is showing the saw in the off position for clarity. I absolutely cut this with all safety gear in place. The resulting pieces are below. Read on to the next page for mounting instructions.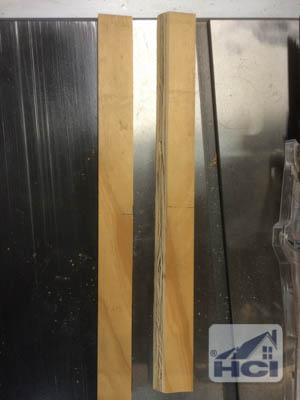







I am hanging an old window on a wall but will only be able to center it on 1 stud. Can I use the French cleat or is there a better way?
French cleat will work…but you’ll need to use some drywall anchors.